Pixlr Editor an online tool and a great way of drawing images and retouching photographs.
Pixlr Express is better if you only want to crop, resize and do some quick adjustments, but no drawing or retouching.
-
- Start at www.pixlr.com (This will open in a new tab)
- Scroll down a little and open the Editor which will be shown on the left.
- You may need to click to accept Adobe Flash which the Editor uses.
- Click on ‘create a new image’.
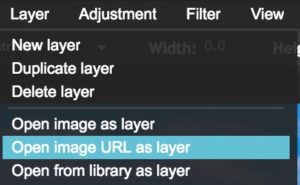
- Use the ‘Layer’ menu and choose ‘Open image URL as Layer’
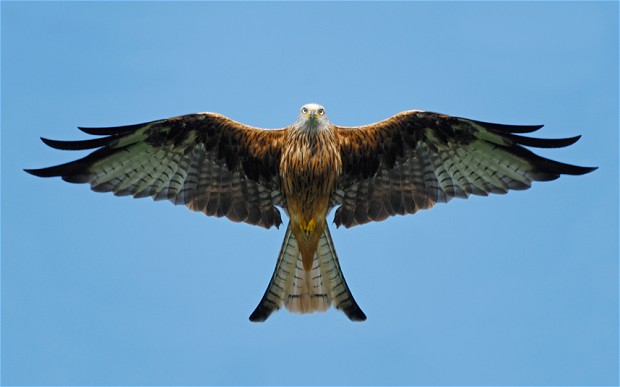
- Return to this page so you can Right-Click the image on the right and choose ‘copy image location’ from the popup menu.
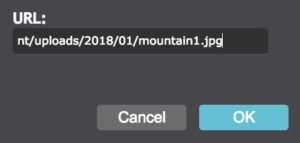
- Swap back to Pixlr and paste the URL of the image into the URL dialog. (right-click again on the image field and then left-click to paste).
- Now get creative! Try painting, retouching and generally see what you can do.
IMPORTANT – It is MUCH easier to control your work if you use layers!
-
Start at www.pixlr.com (This will open in a new tab)
Scroll down a little and open the Editor which will be on the left.
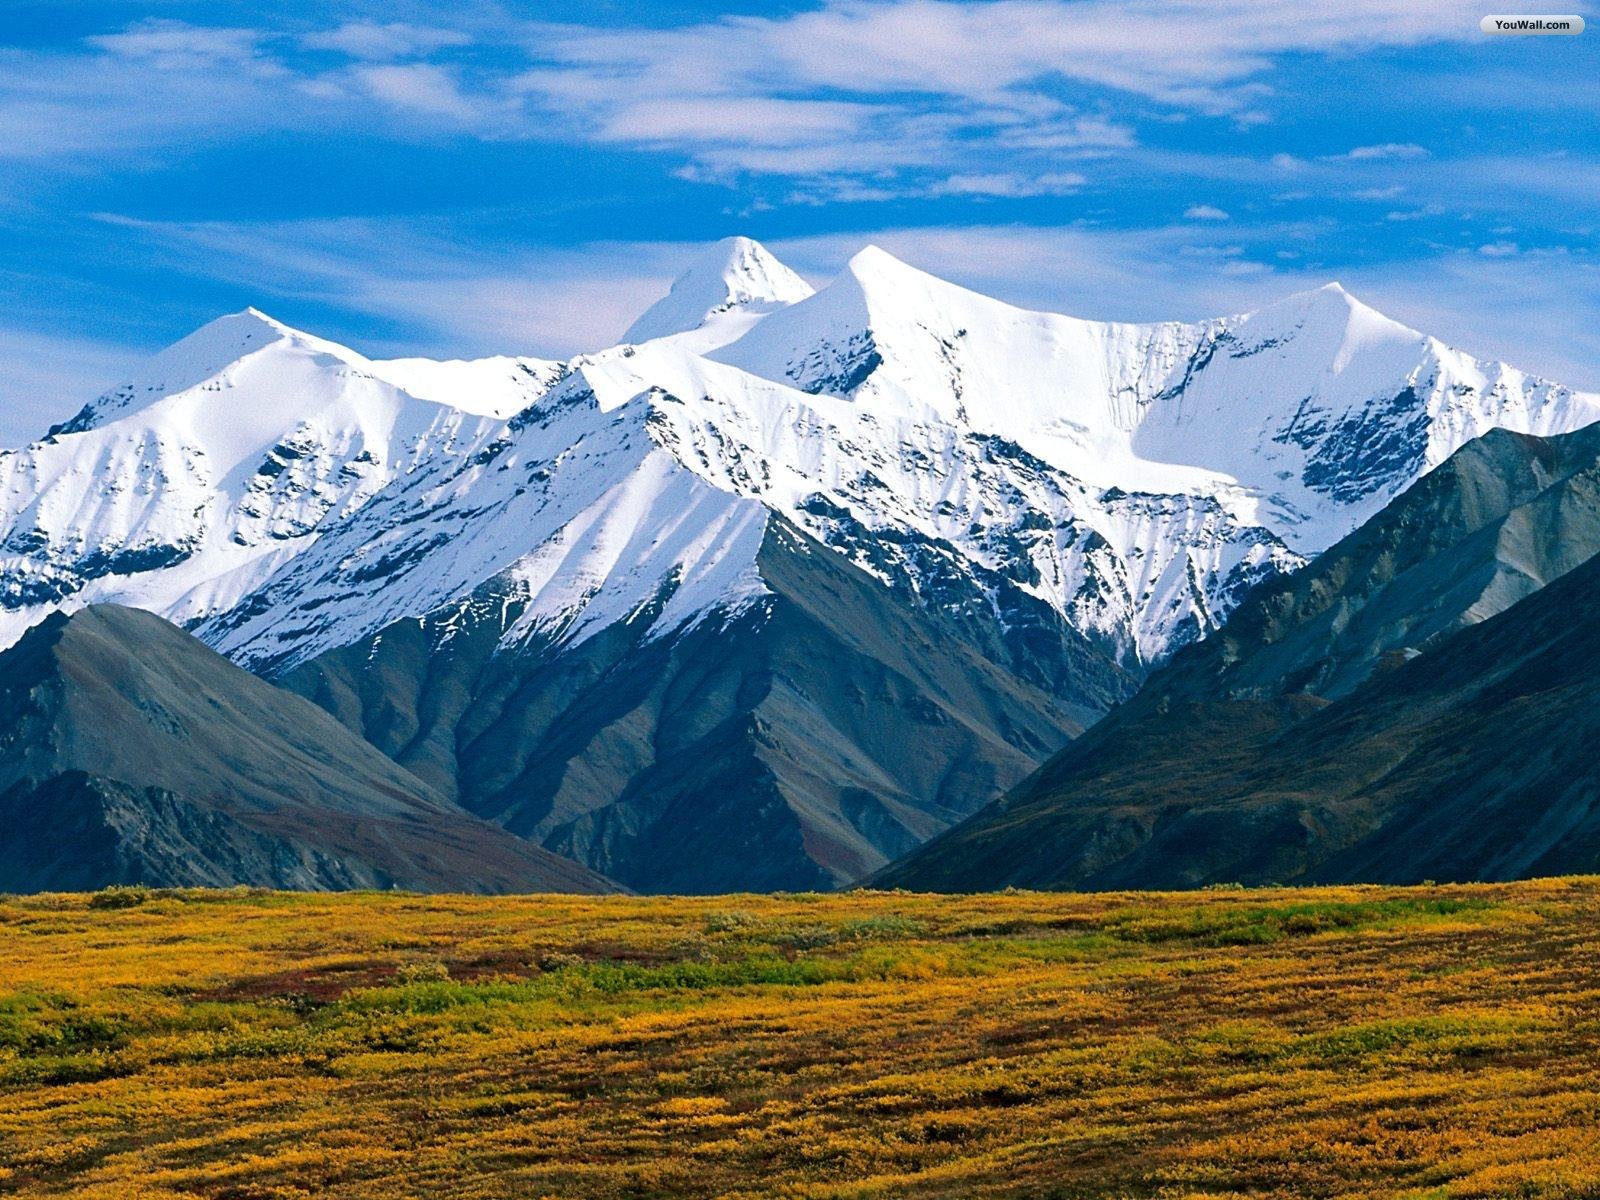
(You may need to click to accept Adobe Flash which the Editor uses.)Return to this page so you can Right-Click the image of the mountains on the right and choose ‘copy image address’ from the popup menu.
From the Pixlr start options choose ‘Open image from URL’

Paste the URL of the image into the URL dialog. (Right-click when on the URL field and then choose ‘paste’ from the popup menu)
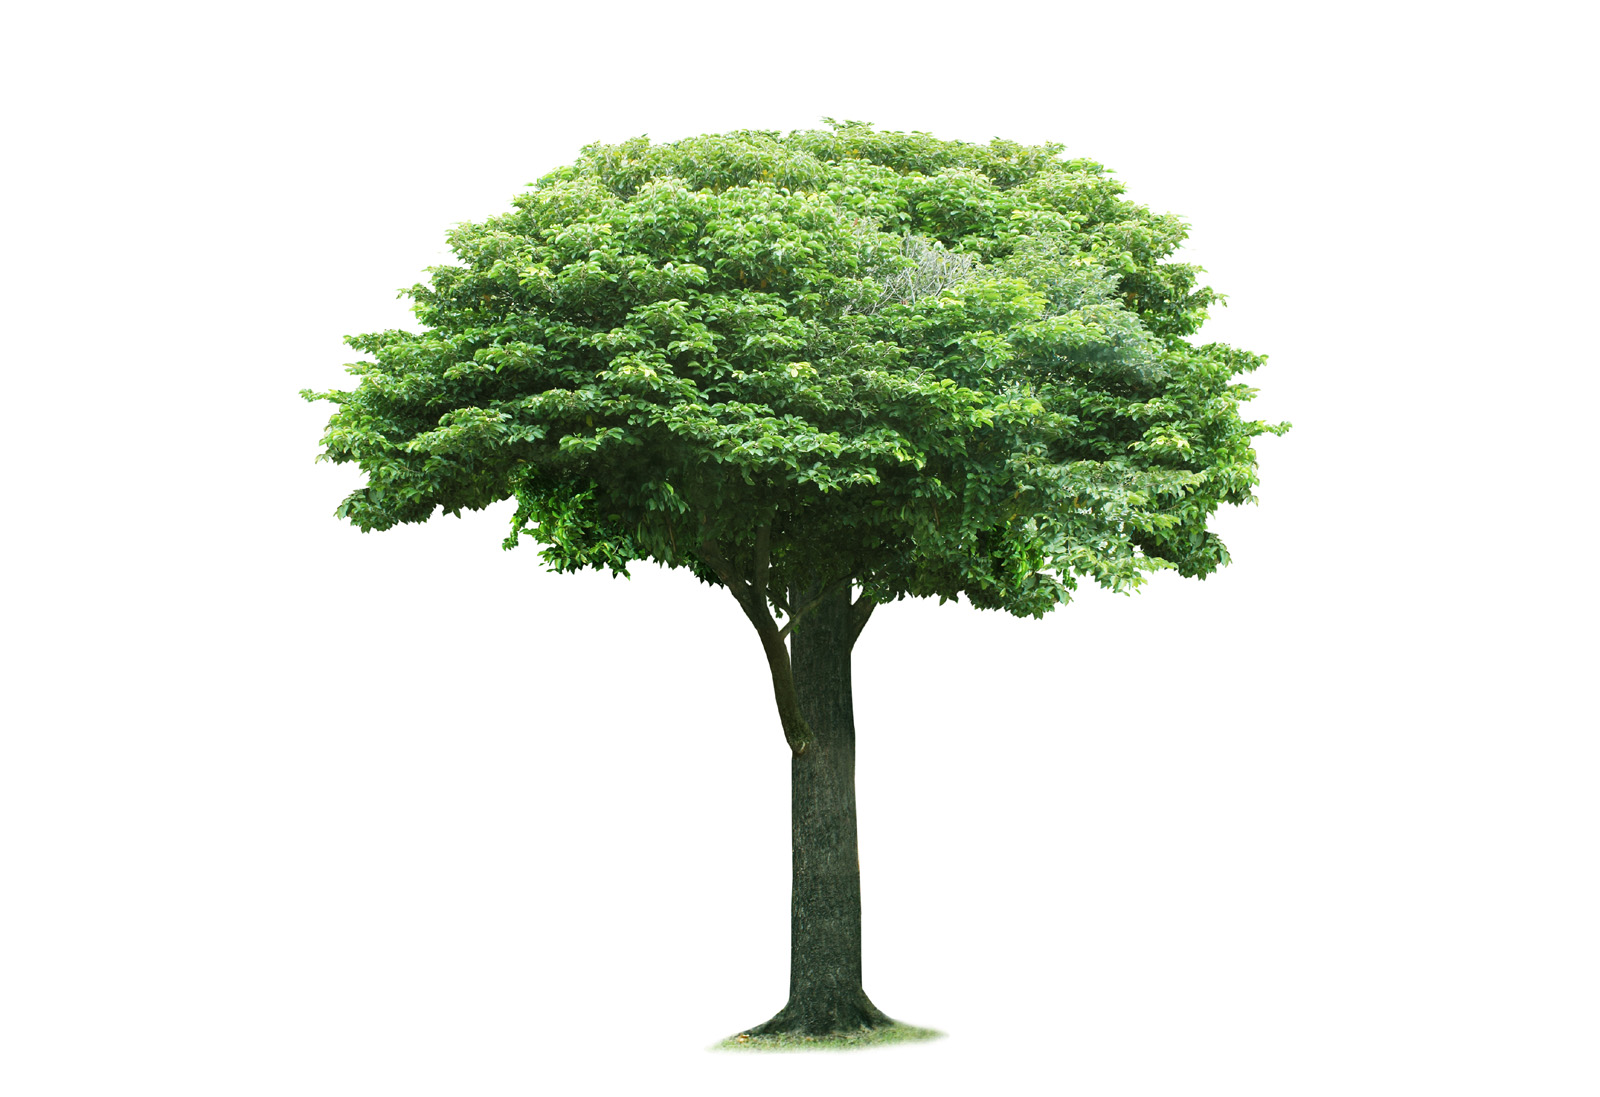
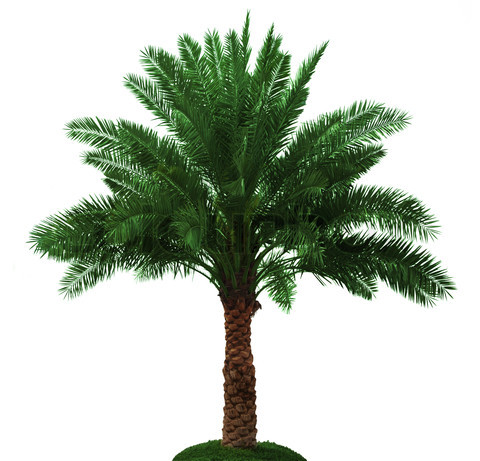
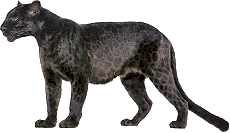
Return to this page and right-click on one of the other images and choose ‘copy image address’ as before.
Back with Pixlr on the ‘Layer’ menu choose ‘open image URL as layer’
The image will appear on top of the mountains in the background, but probably has white (or blue) covering much of the picture.
Choose the ‘magic wand’ tool and click anywhere on the white to select it. Then use the backspace key (left pointing arrow on the keyboard) to delete all the white.
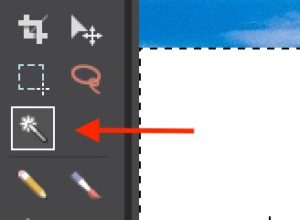
IMPORTANT: Click away from the selected area so nothing is selected before moving on to the next step.
The foreground image will be bigger than you want and in the middle of the background. Choose ‘Free Transform’ from the ‘Edit’ menu and drag the corners of the box that appears around the image on the current layer to size it.

Holding the ‘shift’ key while sizing stops the image from distorting. Once sized and positioned just press the ‘enter’ key to finish this step.
You can now repeat the last few steps to add other images to new layers, size and position them.
You may also want to choose ‘Duplicate Layer’ from the ‘Layers’ menu to clone a layer. It will be on top of the layer you duplicated until you use the ‘move’ tool to re-position it.
Now also try using other tools like the clone stamp and filter tools to see what effects you can achieve.